Cadence Reference
[1.0] Ubuntu20.04
安装Cadence IC617(HotFix),Spectre,Calibre,Xceliummain
[1.1] ubuntu18.04安装cadence
virtuoso
[1.2] 在
CentOS7 下安装 Cadence IC验证平台 INCISIVE152
可能出现的问题及解决方法:
[2] ...install.ixl/mgc_install:
No such file or directory
[3] ERROR: The
OA2.2 library directory
(/home/hushuai/cadence/installs/IC616/oa_v22.43.018/lib/linux_rhel40_gcc44x_32/opt)
does not seem to exist.
[4] WARNING
Unable to find font name:
"--courier-medium-r- --12- ".
[6] *ld:
/usr/lib/x86_64-linux-gnu/crti.o: unrecognized relocation (0x2a) in
section `.init'
[7] /usr/include/math.h:27:36:
fatal error: bits/libc-header-start.h: No such file or directory
[8] WARNING The
glibc version of this host does not appear to be a Cadence supported
version.
1 2 3 4 5 6 7 8 9 10 11 12 13 14 15 16 17 18 19 20 21 22 23 24 sudo apt-get install ksh csh openjdk-8-jre openjdk-8-jdk xterm libncursesw5-dev libxtst6:i386 libxi6:i386 libstdc++6 lib32stdc++6 python net-tools xfonts-75dpi xfonts-100dpiwget http://ftp.br.debian.org/debian/pool/main/g/glibc/multiarch-support_2.28-10_amd64.deb sudo dpkg -i multiarch-support_2.28-10_amd64.debwget http://launchpadlibrarian.net/183708483/libxp6_1.0.2-2_amd64.deb sudo dpkg -i libxp6_1.0.2-2_amd64.debjava -version export JAVA_HOME=/usr/lib/jvm/java-8-openjdk-amd64export JRE_HOME=$JAVA_HOME /jreexport CLASSPATH=$JAVA_HOME /lib:$JRE_HOME /lib:$CLASSPATH export PATH=$JAVA_HOME /bin:$JRE_HOME /bin:$PATH sudo echo "Red Hat Enterprise Linux release 6.12" > /etc/redhat-releasesudo chmod 777 /etc/redhat-releasesudo ln -s /tmp /usr/tmpsudo ln -s /lib/x86_64-linux-gnu/libncursesw.so.5.9 /lib/libtermcap.so.2sudo ln -s /lib/x86_64-linux-gnu/libcrypto.so.1.1 /lib/x86_64-linux-gnu/libcrypto.so.6
ADS Reference
[1] 快递:Linux安装ADS2020update2.0及破解
[2] ubuntu 上装
ADS 2015
1
2
sudo ./pubkey_verifysudo ./pubkey_verify -y
然后再安装license
1 2 sudo apt-get isntall lsb-core
ADS Dynamic Link
http://literature.cdn.keysight.com/litweb/pdf/ads2008/dynlnkug/ads2008/Getting_Started_with_RFIC_Dynamic_Link.html
http://edadownload.software.keysight.com/eedl/ads/2011/pdf/dynlnkug.pdf
https://zhuanlan.zhihu.com/p/355213307
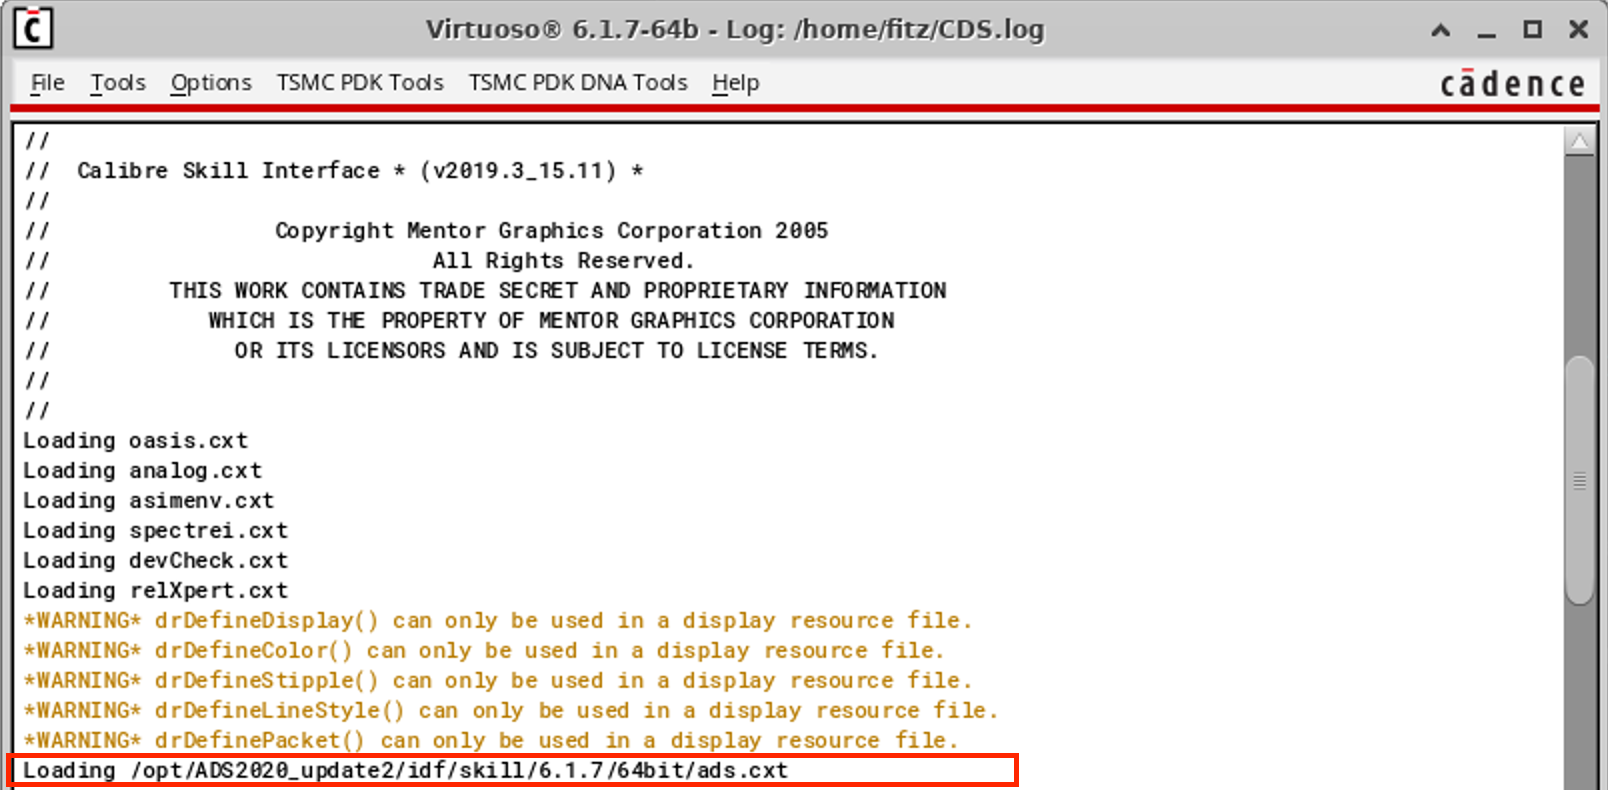
在 ADS 和 Cadence 都正确安装且可以正常打开的情况下:
首先要在 .cdsinit 文件里添加:
1 load("/opt/ADS2020_update2/idf/config/.cdsinit" )
然后:
1 source $HPEESOF_DIR /bin/setCSF.ksh
然后启动 virtuoso,在CIW中可发现ADS已成功加载:
截屏2021-04-20 下午4.40.58
在 schematic 中选择 Launch-ADS Dynamic Link,就会弹出ADS窗口:
截屏2021-04-20 下午4.43.01
Modelsim
Prepare install files
Unwaper this three files and you will get
Mentor Graphics ModelSim SE 2020.4 Linux64
1 2 3 Mentor_Graphics_ModelSim_SE_2020.4 _Linux64.part1_Downloadly .ir Mentor_Graphics_ModelSim_SE_2020.4 _Linux64.part2_Downloadly .ir Mentor_Graphics_ModelSim_SE_2020.4 _Linux64.part3_Downloadly .ir
安装
1
2
chmod +x modelsim-2020.4_Downloadly.ir.aol sudo ./modelsim-2020.4_Downloadly.ir.aol
注意:只安装 64 位的部分!
生成 license file
使用 wine 运行 MentorKG.exe 文件,首先要安装 wine:
1
2
sudo apt-get install winesudo dpkg --add-architecture i386 && sudo apt-get update && sudo apt-get install wine32
在成功安装Wine之后,需要在第一次使用之前使用下面的命令初始化wine配置文件:
然后 patch,<Modelsim install path> 在我的电脑上为
/opt/ModelSim:
1
2
sudo cp MentorKG.exe <Modelsim install path>/modeltech/linux_x86_64 sudo wine MentorKG.exe -patch .
保存生成的 license 为 license.dat,并选择文件编码格式为
Unicode(UTF-8),位置
/opt/ModelSim/license.dat
Patch
ref:http://bbs.eetop.cn/thread-888767-1-1.html
把 sfk 和 patch_calibre2011_linux 文件拷贝到 modelsim
的安装路径下(同级有modeltech和_msidata文件夹)
1
2
3
sudo cp patch_calibre2011_linux sfk /opt/ModelSimsudo chmod 755 patch_calibre2011_linux sfk sudo ./patch_calibre2011_linux
报错:
1 ./sfk: error while loading shared libraries: libstdc++.so.5: cannot open shared object file: No such file or directory
1
2
3
4
locate libstdc++.so.5 sudo apt-get install libstdc++5:i386
1
2
3
sfk rep -yes -bin /41574989CF41564589C6415541544189D455534889FB4881ECF8000000488B8798020000/4831c0c3CF41564589C6415541544189D455534889FB4881ECF8000000488B8798020000/ -dir . sfk rep -yes -bin /41574989CF41564589C6415541544189D455534889FB4881ECF8000000488B8798020000/4831c0c3CF41564589C6415541544189D455534889FB4881ECF8000000488B8798020000/ -dir . sfk rep -yes -bin /CC88D700000000001300000000000000000000000700070000000000210005007C6B610100000000000000000000000000000000000000000000000000000000A0D2D700000000000BFFFFFF00000000/CC88D7000000000013000000FFFFFFFF000000000700070000000000210005007C6B610100000000000000000000000000000000000000000000000000000000A0D2D700000000000BFFFFFF00000000/ -dir . -file vcom
最后的log中出现 2 changed 就成功了。
修改环境变量
1 2 3 4 export MTI_VCO_MODE=64export LM_LICENSE_FILE=/opt/ModelSim/license.datexport PATH=$PATH :/opt/ModelSim/modeltech/linux_x86_64
执行 vsim
PS: 要修改网卡名称为 eth0
sudo vim /etc/default/grub
找到GRUB_CMDLINE_LINUX=""
改为GRUB_CMDLINE_LINUX="net.ifnames=0 biosdevname=0"
然后sudo grub-mkconfig -o /boot/grub/grub.cfg
重启 后,网卡名称就会变成了eth0
dash 改为 bash
1 sudo dpkg-reconfigure dash
HFSS
https://www.cfd-online.com/Forums/ansys/199190-ansys-18-2-ubuntu-16-04-installation-guide.html
1
2
3
4
5
6
7
8
9
10
11
12
13
14
15
16
17
18
19
20
21
22
23
24
25
26
27
28
29
30
31
32
$ sudo ./install -silent -install_dir /opt/ansys_inc [sudo ] password for meow: /mnt/hgfs/IC_Design/share/HFSS/ELECTRONICS_180_LINX64/Electronics_180_linx64/Linux/install.exe: error while loading shared libraries: libpng12.so.0: cannot open shared object file: No such file or directory
安装必要的软件
1 sudo apt install xterm lsb csh ssh rpm xfonts-base xfonts-100dpi xfonts-100dpi-transcoded xfonts-75dpi xfonts-75dpi-transcoded xfonts-cyrillic libmotif-common mesa-utils libxm4 libxt6 libxext6 libxi6 libx11-6 libsm6 libice6 libxxf86vm1 libpng16-16 libtiff5 gcc g++ libstdc++6 libstdc++5
1 2 3 wget http://ppa.launchpad.net/linuxuprising/libpng12/ubuntu/pool/main/libp/libpng/libpng12-0_1.2.54-1ubuntu1.1+1~ppa0~focal_amd64.deb sudo dpkg -i libpng12-0_1.2.54-1ubuntu1.1+1~ppa0~focal_amd64.deb
1 2 3 wget ftp.us.debian.org/debian/pool/main/libx/libxp/libxp6_1.0.2-2_amd64.deb sudo dpkg -i libxp6_1.0.2-2_amd64.deb
更新索引
创建超链接
1 2 3 4 5 6 7 8 9 10 11 12 13 14 15 sudo ln -s /usr/lib/x86_64-linux-gnu/libGL.so.1 /usr/lib/libGL.sosudo ln -s /usr/lib/x86_64-linux-gnu/libGL.so.1 /usr/lib/libGL.so.1sudo ln -s /usr/lib/x86_64-linux-gnu/libGLU.so.1 /usr/lib/libGLU.sosudo ln -s /usr/lib/x86_64-linux-gnu/libXm.so.4 /usr/lib/libXm.sosudo ln -s /usr/lib/x86_64-linux-gnu/libXm.so.4 /usr/lib/libXm.so.3sudo ln -s /usr/lib/x86_64-linux-gnu/libXp.so.6 /usr/lib/libXp.sosudo ln -s /usr/lib/x86_64-linux-gnu/libXt.so.6 /usr/lib/libXt.sosudo ln -s /usr/lib/x86_64-linux-gnu/libXext.so.6 /usr/lib/libXext.sosudo ln -s /usr/lib/x86_64-linux-gnu/libXi.so.6 /usr/lib/libXi.sosudo ln -s /usr/lib/x86_64-linux-gnu/libX11.so.6 /usr/lib/libX11.sosudo ln -s /usr/lib/x86_64-linux-gnu/libSM.so.6 /usr/lib/libSM.sosudo ln -s /usr/lib/x86_64-linux-gnu/libICE.so.6 /usr/lib/libICE.sosudo ln -s /lib/x86_64-linux-gnu/libgcc_s.so.1 /lib/libgcc.sosudo ln -s /lib/x86_64-linux-gnu/libc.so.6 /lib/libc.sosudo ln -s /lib/x86_64-linux-gnu/libc.so.6 /lib64/libc.so.6
将默认 sh 改为 bash
1 2 3 sudo dpkg-reconfigure dash
安装
安装位置选择 /opt/ansys_inc
破解
将破解文件夹复制到 /opt/ansys_inc 覆盖原来的文件
1 sudo cp -r ansys_inc /opt
修改权限
1 2 3 sudo chown -R $USER :$USER ~/.ansyssudo chown -R $USER :$USER ~/.configsudo chown -R 777 /ansys_inc/v202/aisol/WBMWRegistry/
修改通配符不匹配
修改 /opt/ansys_inc/v202/CFX/bin/cfx5arch
大约在 196 行处有:
1 2 3 if test -n "$libc_file " ; then case `basename $libc_file | sed 's/\.so//g' ` in glibc-*|libc-[0123].*)
在这下面加上:
1 libc_file_tmp=`echo $libc_file | sed -e 's/x86_64-linux-gnu//g' `
然后将:
1 libc_version=`echo $libc_file | sed -e 's/^[^-]*-//' -e 's/\.so//g' `
改为:
1 libc_version=`echo $libc_file_tmp | sed -e 's/^[^-]*-//' -e 's/\.so//g' `
截屏2021-04-09 下午5.14.46
Since
ptrace is used to monitor intelmpi CFX run, set the permission for all
the users, just edit
编辑 /etc/sysctl.d/10-kernel-hardening.conf
加入:
1 kernel.yama.ptrace_scope = 0
/etc/sysctl.d/10-ptrace.conf
1 2 3 kernel.yama.ptrace_scope = 1 -> kernel.yama.ptrace_scope = 0
/proc/sys/kernel/yama/ptrace_scope
编辑 .bashrc 文件
1 2 3 4 5 6 7 8 9 10 11 12 13 14 15 16 17 18 19 20 21 export PATH=$PATH :/opt/ansys_inc/v202/ansys/binexport PATH=$PATH :/opt/ansys_inc/v202/CFX/binexport PATH=$PATH :/opt/ansys_inc/v202/fluent/binexport PATH=$PATH :/opt/ansys_inc/v202/icemcfd/linux64_amd/binexport PATH=$PATH :/opt/ansys_inc/v202/Framework/bin/Linux64export PATH=$PATH :/opt/ansys_inc/v202/TurboGrid/binexport PATH=$PATH :/opt/ansys_inc/shared_files/licensing/lic_adminexport PATH=$PATH :/opt/ansys_inc/v202/polyflow/binalias wb2='/ansys_inc/v202/Framework/bin/Linux64/runwb2 -oglmesa' export LD_LIBRARY_PATH=/opt/ansys_inc/v202/Framework/bin/Linux64/Mesa:$LD_LIBRARY_PATH export LANG=en_US.UTF8export FLUENT_ARCH='lnamd64'
Synopsys VCS+Verdi
Ref:
VCS+Verdi
安装及破解过程(Ubuntu)【1】
Synopsys
license过期
libpng12.so.0:
cannot open shared object file: No such file or directory
解决方法
主要参考 1.
VCS+Verdi 安装及破解过程(Ubuntu)【1】 安装,破解时,发现
scl_keygen 的 EXPIRE 的时间最大只能设为
12-dec-2020,这个应该是 license 到期的时间,直接在
scl_keygen 里修改 EXPIRE 的时间后生成的 license
还是不能用,参考 2.
Synopsys license过期 的思路,修改 scl_keygen 文件夹里
Synopsys.src 这个文件里的日期,将所有的
12-dec-2020 改成 12-dec-2030,然后再在
scl_keygen 里修改 EXPIRE 的时间为
12-dec-2030,这样生成的 license 就可以用了。
由于 1.
VCS+Verdi 安装及破解过程(Ubuntu)【1】 里提供的 vcs 需要
gcc-4.8 和
g++-4.8,需要单独安装,由于这个版本的 gcc
很老,无法直接使用包管理软件安装,因此需要从源码编译安装,我下载的是 gcc-4.8.5
https://stackoverflow.com/questions/61945439/how-to-install-compiler-g-4-8-5-in-ubuntu-20-04 https://www.icode9.com/content-3-1202280.html https://www.frank.fyi/archives/336_gcc-compile-error/
参考第一篇:
1 2 3 4 5 6 7 8 9 10 11 12 13 14 15 16 17 18 19 20 21 22 23 wget http://ftp.gnu.org/gnu/gcc/gcc-4.8.5/gcc-4.8.5.tar.bz2 tar -zxvf gcc-4.8.5.tar.bz2 sed -i -e 's/__attribute__/\/\/__attribute__/g' gcc-4.8.5/gcc/cp/cfns.h sed -i 's/struct ucontext/ucontext_t/g' gcc-4.8.5/libgcc/config/i386/linux-unwind.h gcc-4.8.5/contrib/download_prerequisites sudo apt install make wget git gcc g++ lhasa libgmp-dev libmpfr-dev libmpc-dev flex bison gettext texinfo ncurses-dev autoconf rsync mkdir gcc-4.8.5-buildcd gcc-4.8.5-build $PWD /../gcc-4.8.5/configure --enable-languages=c,c++ --prefix=/usr/local/gcc-4.8.5 --enable-shared --enable-plugin --program-suffix=-4.8.5 --disable-multilibmake MAKEINFO="makeinfo --force" -j sudo make install
编译的过程中会出现一些问题,主要参考了第二篇文章 和第三篇文章 。
vcs+verdi 的仿真脚本
最后,附上 vcs+verdi 的仿真脚本,运行 make sim 使用 vcs
仿真,运行 make verdi 使用 verdi 查看波形。
Makefile
1 2 3 4 5 6 7 8 9 10 11 12 13 14 15 16 17 18 19 20 21 22 23 24 25 26 27 28 29 30 31 32 33 34 35 36 37 38 39 40 41 42 43 44 45 46 47 48 49 50 51 52 53 54 55 56 57 58 59 60 61 62 63 64 65 66 67 .PHONY : all vcs file cleanTOP ?= BBPLL_tb export demo_name=${TOP}export LD_LIBRARY_PATH=${VERDI_HOME}/share/PLI/VCS/LINUX64SRC_PATH := ${PWD}/../src FILELIST_FILE := filelist.f DAIDIR := /tmp/vcs_run/${TOP}.daidir MDIR := /tmp/vcs_run/${TOP}.csrc VCS_FLAGS := -full64 \ +v2k \ -sverilog \ -debug_all \ +define +DUMP_FSDB \ +incdir+${SRC_PATH} \ -f ${FILELIST_FILE} \ -l com.log \ -top ${TOP} \ -o ${TOP} \ -lca -kdb \ -daidir=${DAIDIR} \ -Mdirectory=${MDIR} \ -LDFLAGS -Wl,-no-as-needed \ -j8 \ -diag timescale -timescale=1s/1fs VERDI_FLAGS := +v2k \ -sverilog \ -f ${FILELIST_FILE} \ -top ${TOP} \ -ssf ${TOP}.fsdb \ -nologo \ +incdir+${SRC_PATH} \ -l verdi.log SRC_FILES += $(foreach f, $(SRC_PATH) , $(wildcard $(f) /*.v) ) SRC_FILES += $(foreach f, $(SRC_PATH) , $(wildcard $(f) /*.sv) ) sim: clean com ./${TOP} \ -ucli -i sim.tcl \ +fsdb+autoflush \ -l sim.log com: file vcs ${VCS_FLAGS} verdi: ${TOP}.fsdb verdi ${VERDI_FLAGS} & file: -rm -f ${FILELIST_FILE} for filename in ${SRC_FILES}; do \ realpath $${filename} | xargs -n 1 -I path bash -c "echo path >> ${FILELIST_FILE}" ; \ done clean: -rm -rf ${DAIDIR} -rm -rf ${MDIR} -rm -rf `ls | grep -v "Makefile" | grep -v "sim.tcl" | grep -v "filelist.f" | grep -v "res" | grep -v "wave.rc" `
sim.tcl
1 2 3 4 5 6 7 global envfsdbDumpfile "$env(demo_name).fsdb" fsdbDumpvars run 2.0 ms exit